Elder Knowledge
This article or section is not written in the formal tone expected of an encyclopedia entry, meaning it relies heavily on colloquialisms and unprofessional verbiage. The perspective may be written from a first- or second- person point of view, when third person indirect is required. See the style sheet and the writing guideline for suggestions.
Elder Knowledge is a quest available in The Elder Scrolls V: Skyrim.
| Elder Knowledge | |
|---|---|
 |
|
| Quest Giver | Paarthurnax or Esbern |
| Location | Alftand Blackreach |
| Prerequisite | The Throat of the World |
| Next Quest | Alduin’s Bane |
| Reward | Elder Scroll (Dragon) Progress in storyline |
| Type | Main Quest |
| QuestID | MQ205 |
Paarthurnax
Talk to Paarthurnax and ask him about the Elder Scroll.
Arngeir/Esbern
To learn more about the Elder Scroll that is needed, visit High Hrothgar and speak to Arngeir or talk to Esbern at Sky Haven Temple. Either choice prompts going to the College of Winterhold.
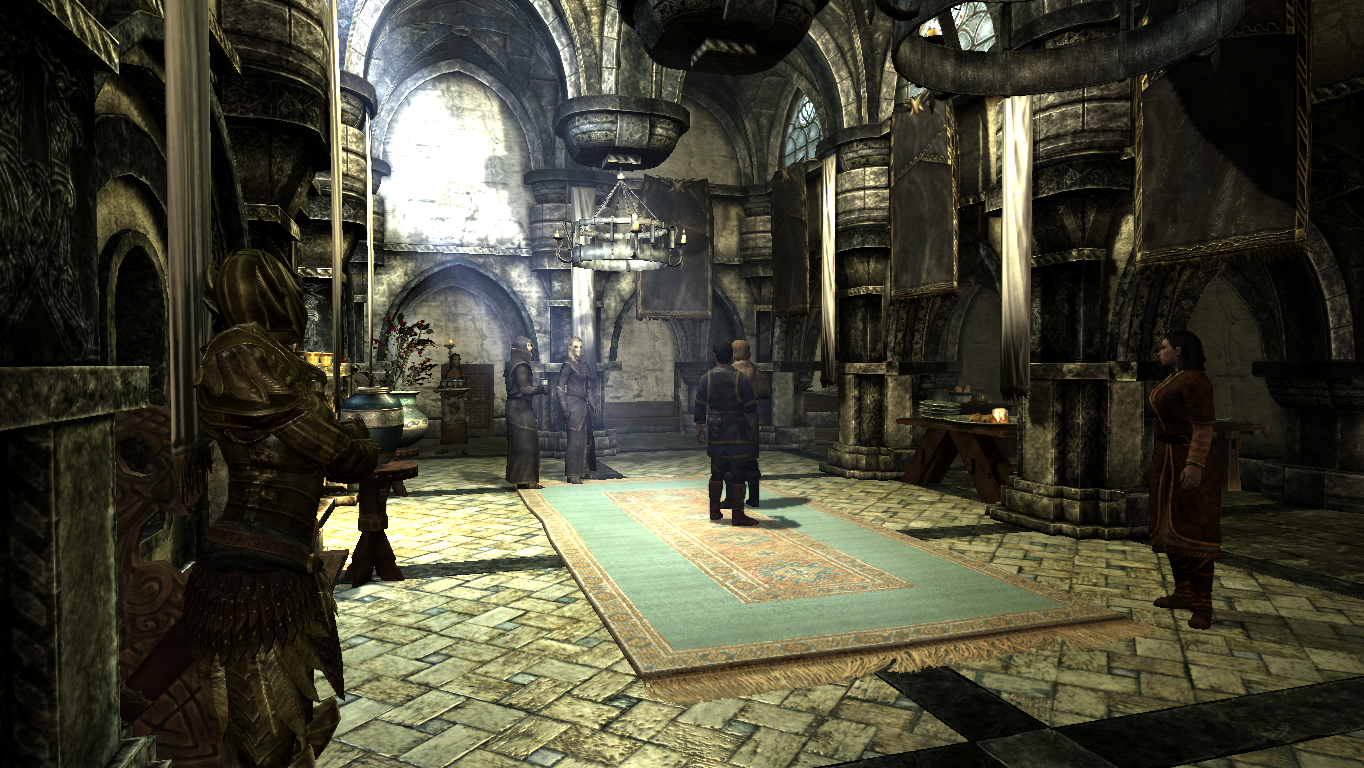
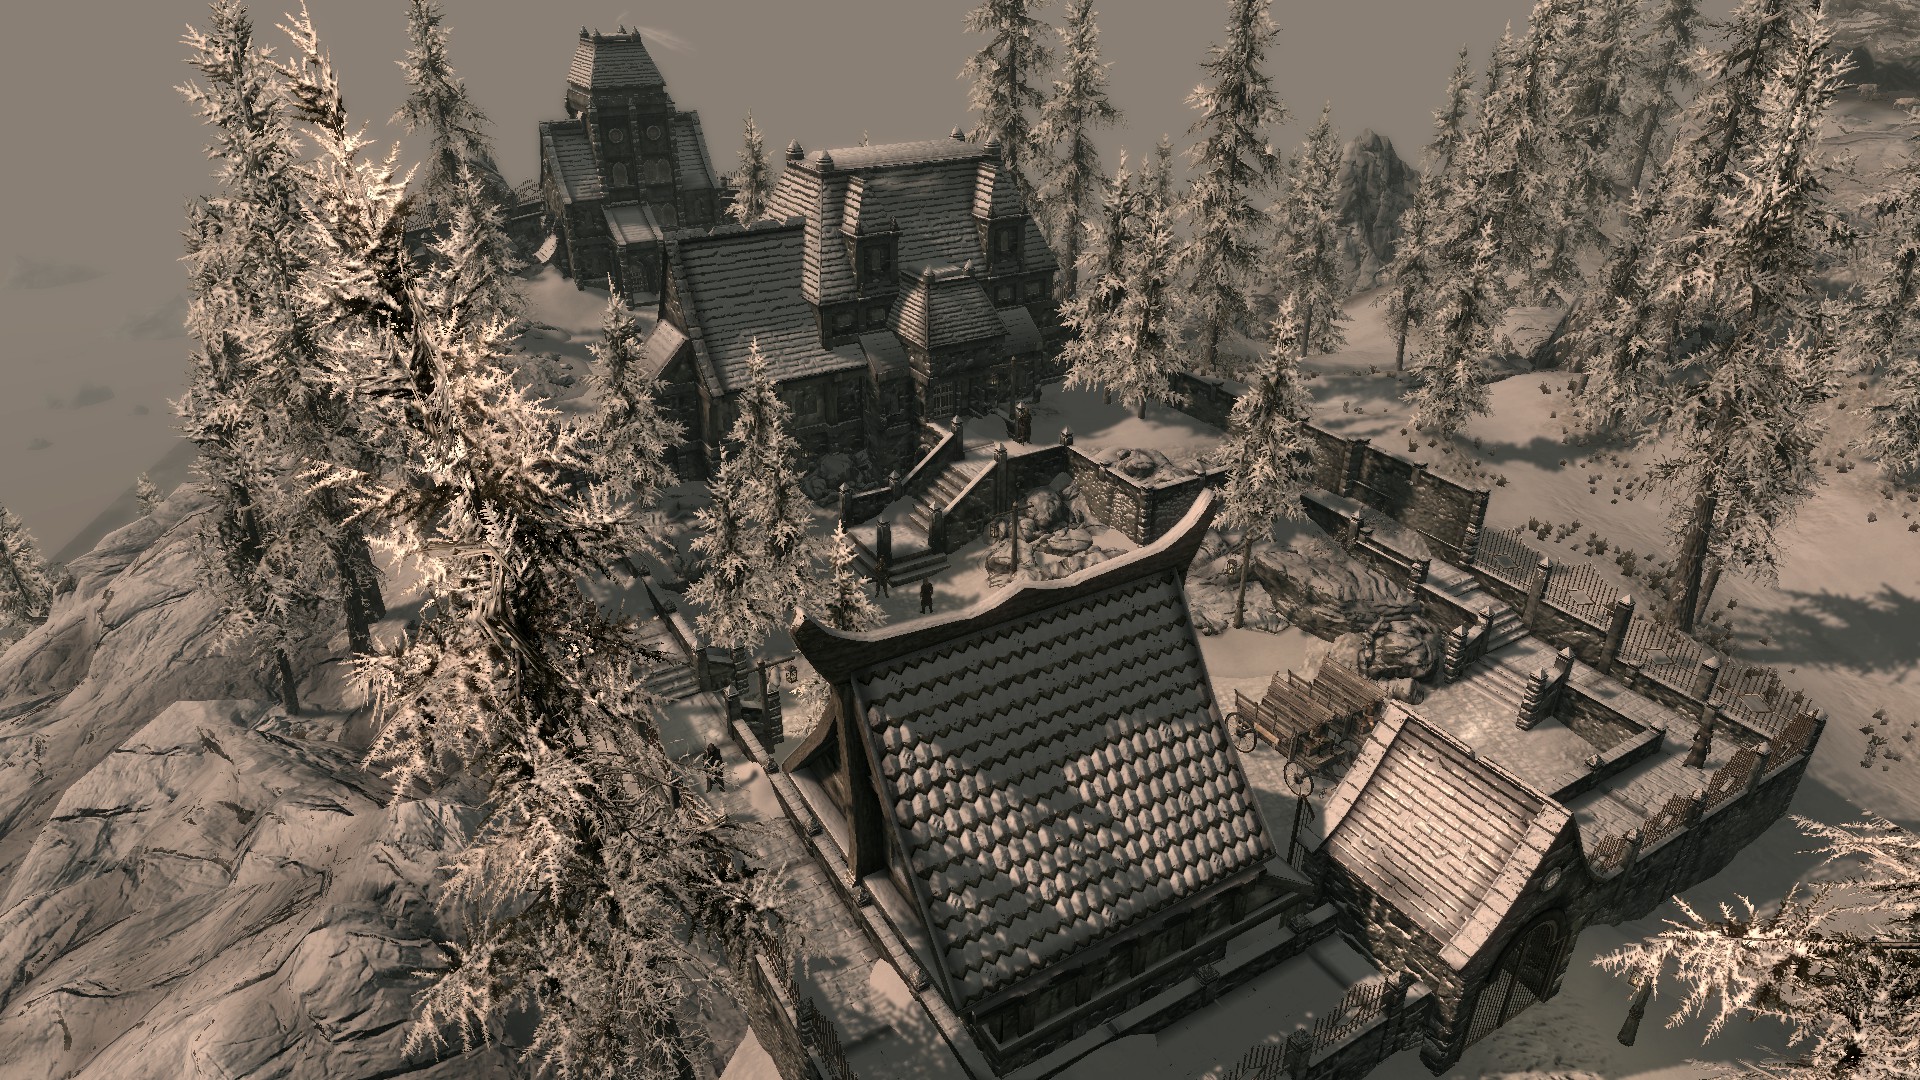
College of Winterhold
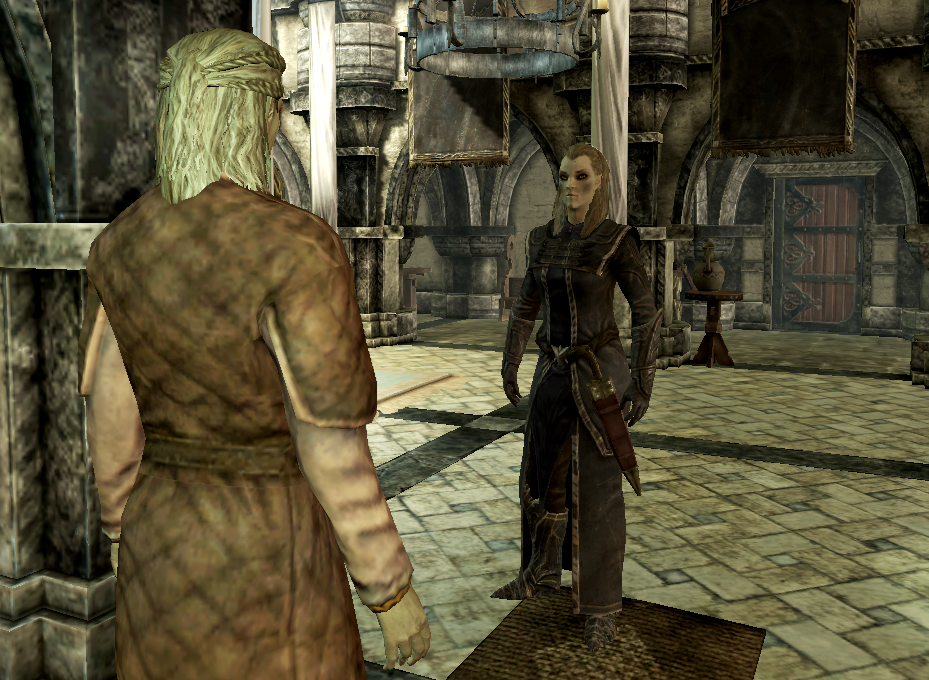
Travel to the College of Winterhold, and you will be met by an Altmer named Faralda. Assuming you have not already joined the College of Winterhold faction, you will be prevented from entering the college. There are several options for getting in to the college:
- Persuade: You can persuade her into letting you in.
- Test: Take Faralda’s test by casting the random spell that she asks you to cast.
- Shout: Tell Faralda that you are Dragonborn and show her a shout.
Do one of the above options and she will let you into the College.
Once you’re in the College you need to find an Orc named Urag gro-Shub, who runs the Arcanaeum inside the College. Ask him about the Elder Scrolls and he will place two books for you on the table. (If they’re not working, check the Notes section). Reading Ruminations on the Elder Scrolls will begin the side quest “Discerning the Transmundane” if it wasn’t started already. After you tell Urag that the Ruminations on the Elder Scrolls are incomprehensible, he will tell you that the book was written by an expert on the Elder Scrolls, Septimus Signus. He gives you the last known location of Septimus.
Alternatively, the player can simply go to Septimus Signus’ Outpost, and avoid joining the College altogether.
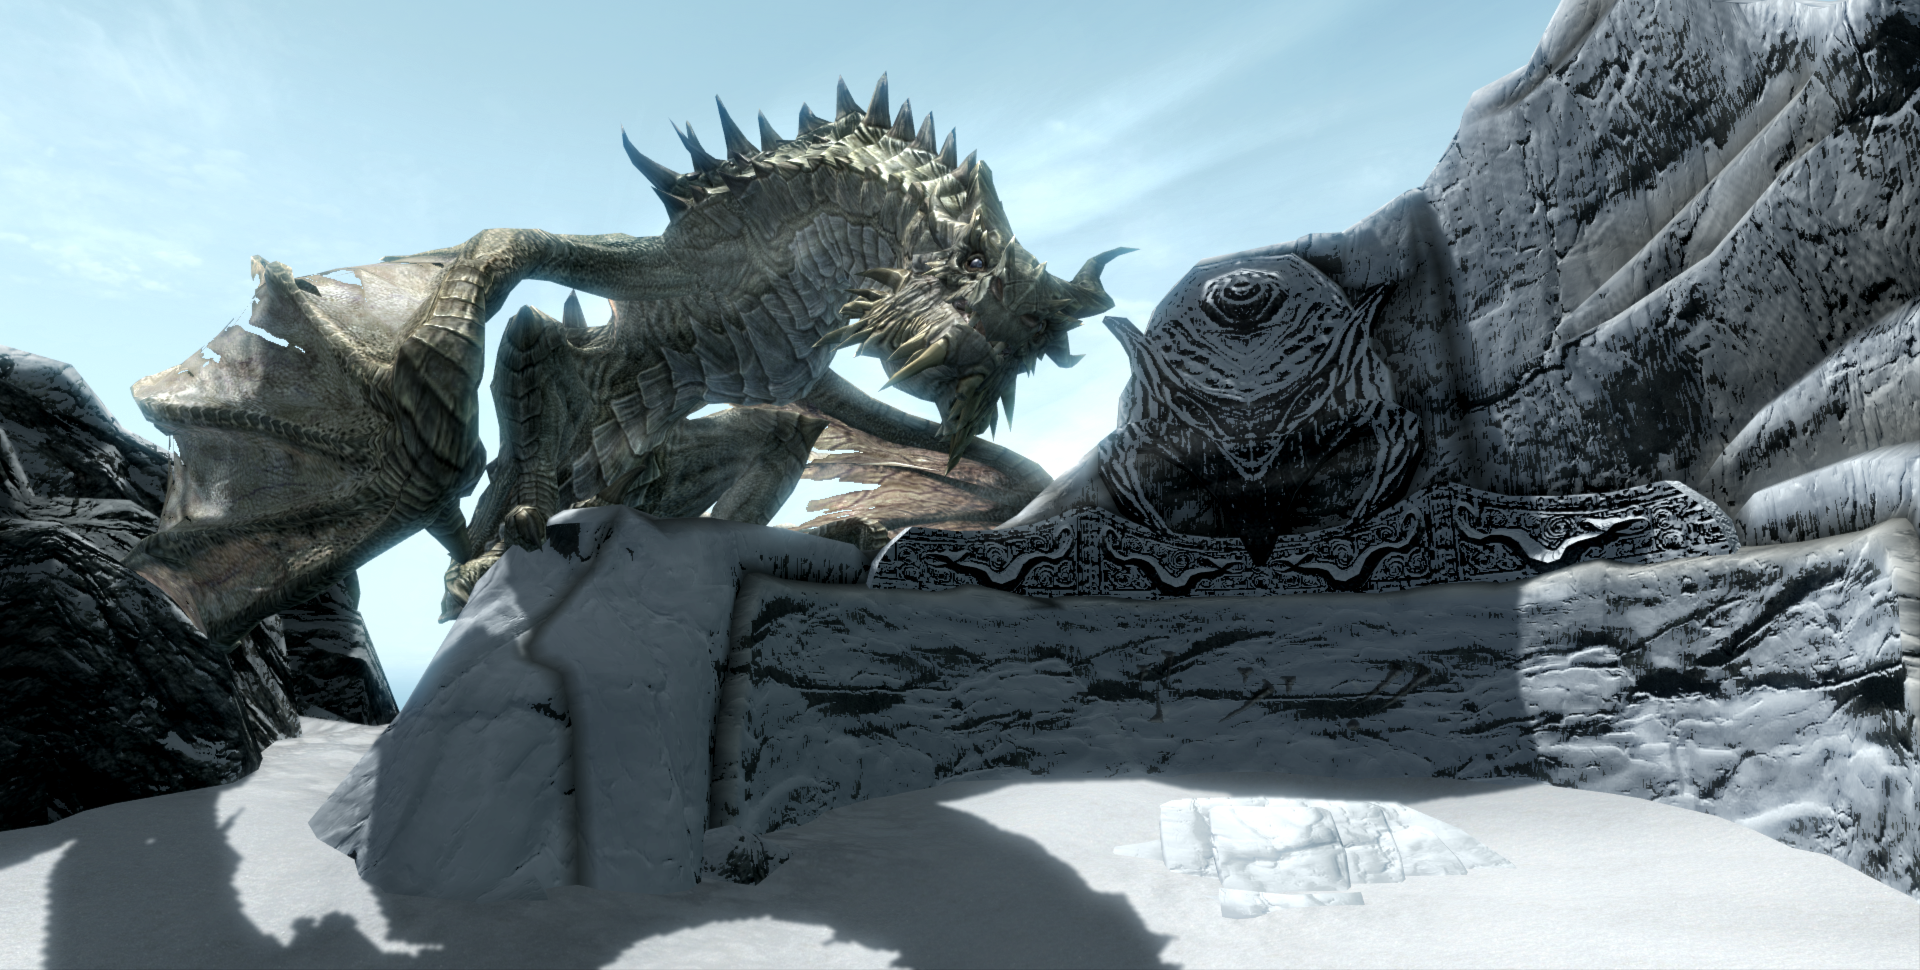
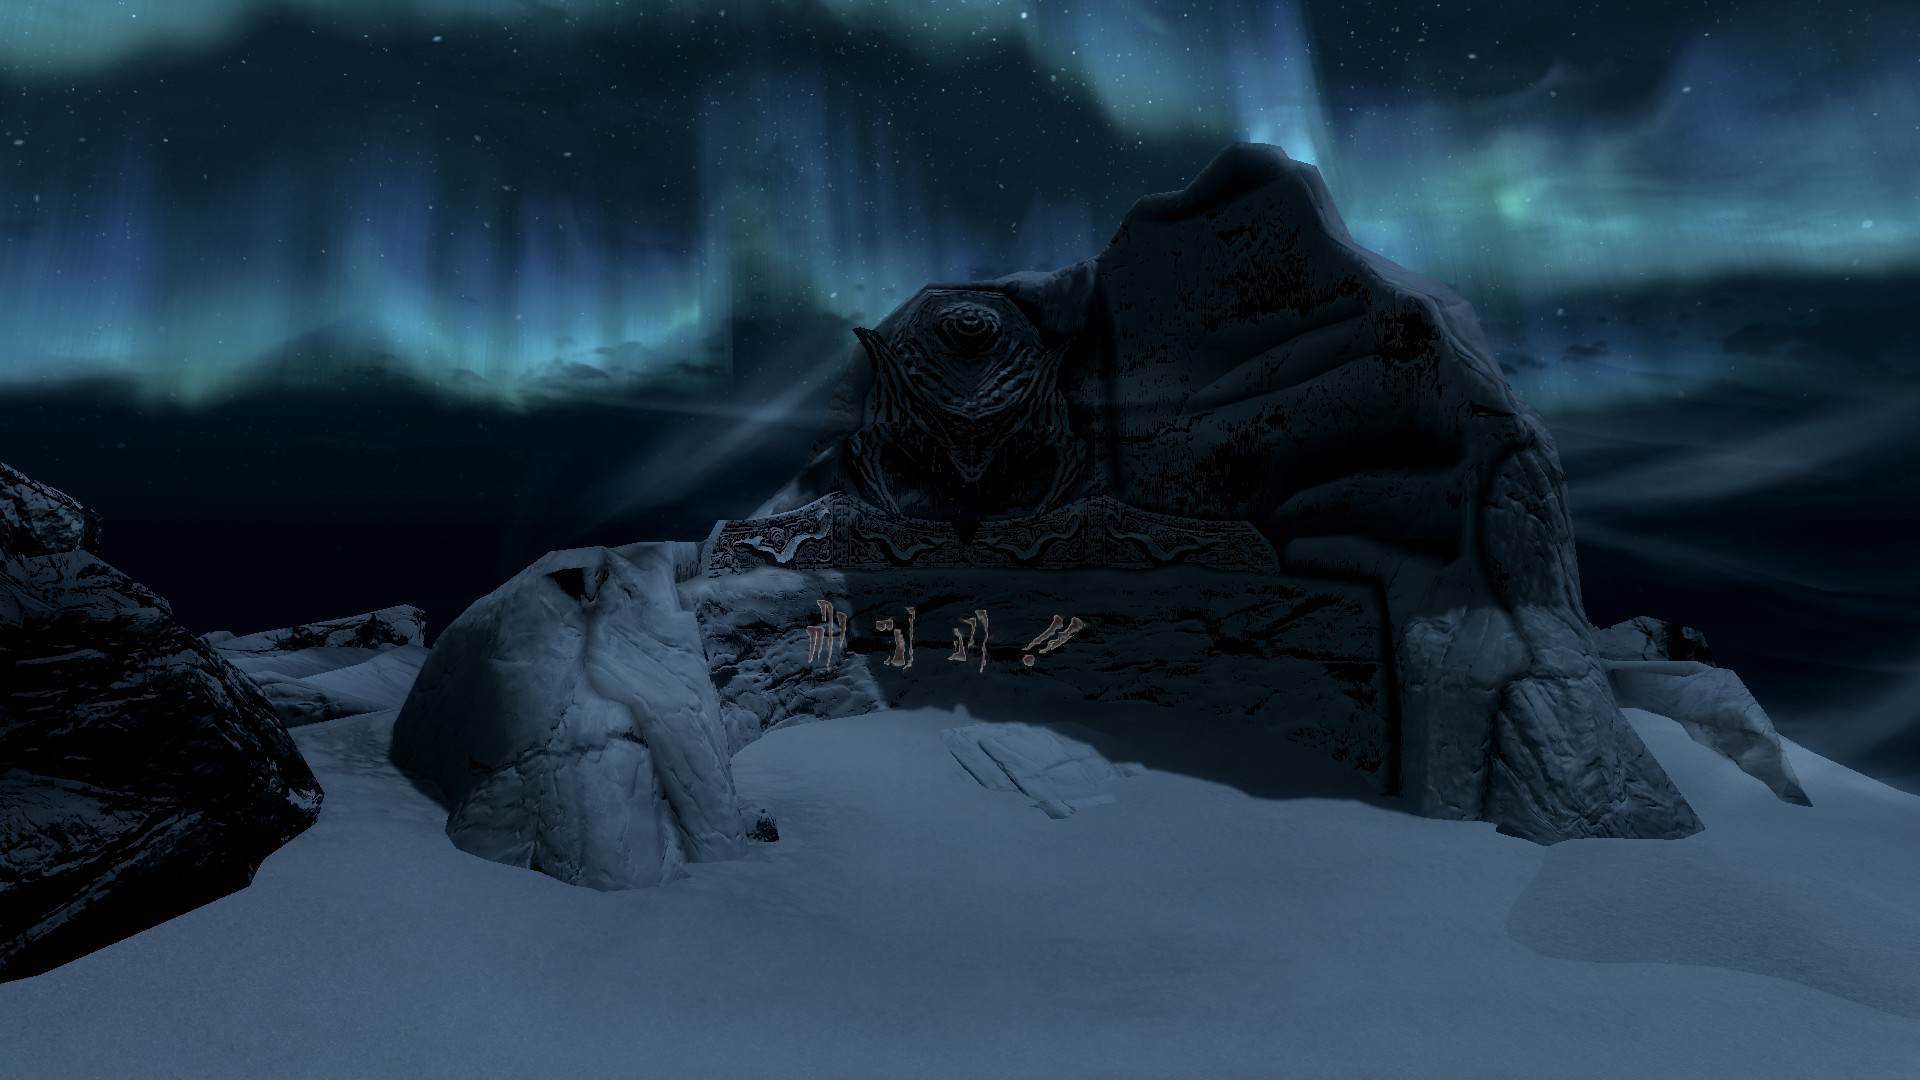
Septimus Signus
You must go to Septimus Signus’s Outpost, the northern iceberg where Septimus has made his home. Climb down the ladder to find Septimus working on a Dwemer Box. Ask Septimus about the Elder Scroll, and he will tell you that you must go to Blackreach, a large underground Dwemer city that lies underneath the ruins of Alftand. He will give you the Attunement Sphere and the Blank Lexicon.
Alftand
The next stage of the mission will take you to Alftand, leading on to the underground world of Blackreach. This is a long, hard mission, with lots of Falmer and Dwarven Animunculi. Blackreach itself has many side missions, so you’ll be on-the-road for a while. It’s a good idea to make sure you’ve stocked up on potions, and stowed any unwanted items at home to free up space for your loot.
Alftand is located on the glacial mountains southwest of Winterhold. When you enter Alftand you will need to travel throughout large glacial tunnels, these glacial tunnels were left in a hurry so there are tools laying all over the ground. Follow the tunnel till you reach the Dwemer Ruins. You will come across a door that can be unlocked from the other side, so go to the passage that heads west up a ramp.
Carry on going north, there will be two Dwarven Spheres. Kill or avoid them and head through the gold door and up to a Dwarven Spider–infested passage stretching south. This main passage will lead you east, above the room with the Dwemer Sphere’s in it, but you are now on the ledge above it, and you will have to dodge the pistons. This will lead you to the Alftand Animonculory.
Animonculory

Travel through the Alftand Animonculory, past the spinning blades, and you will find a locked gate – there is a lever on the other side of the gate that you can reach from the far left position. Open the gate and you will come across a massive shaft in the Animonculory. Travel down this shaft and you will come across some Falmer. Dispatch or sneak by the four Falmer that reside in the shaft. Alternatively you can use the Become Ethereal shout to jump straight to the bottom; however this is not advised as you may become overwhelmed by the number of Falmer at the bottom and you will miss some good loot on the way down.
Mid-way down the shaft one of the ramps has broken, so you have to jump down to the platform below, possibly taking some damage. Try to jump to the center of the pile of rubble to minimize this. At this point you can only return to the levels above by continuing to another exit, and re-entering.
Once you’re at the bottom you will find an entrance to a gold door. This door is guarded by fire jets; get past them. Enter the door – which leads to a Falmer nest (though it is not necessary to walk through the fire jets as on the left side there’s a little gap between the pipes you can walk through without worry of being burned). Go through the nest, dispatching or avoiding the Falmer inside. Go though the golden door on the southwest over a bridge. This will lead to another looping walkway with several Falmer and at least one Frostbite Spider on it.
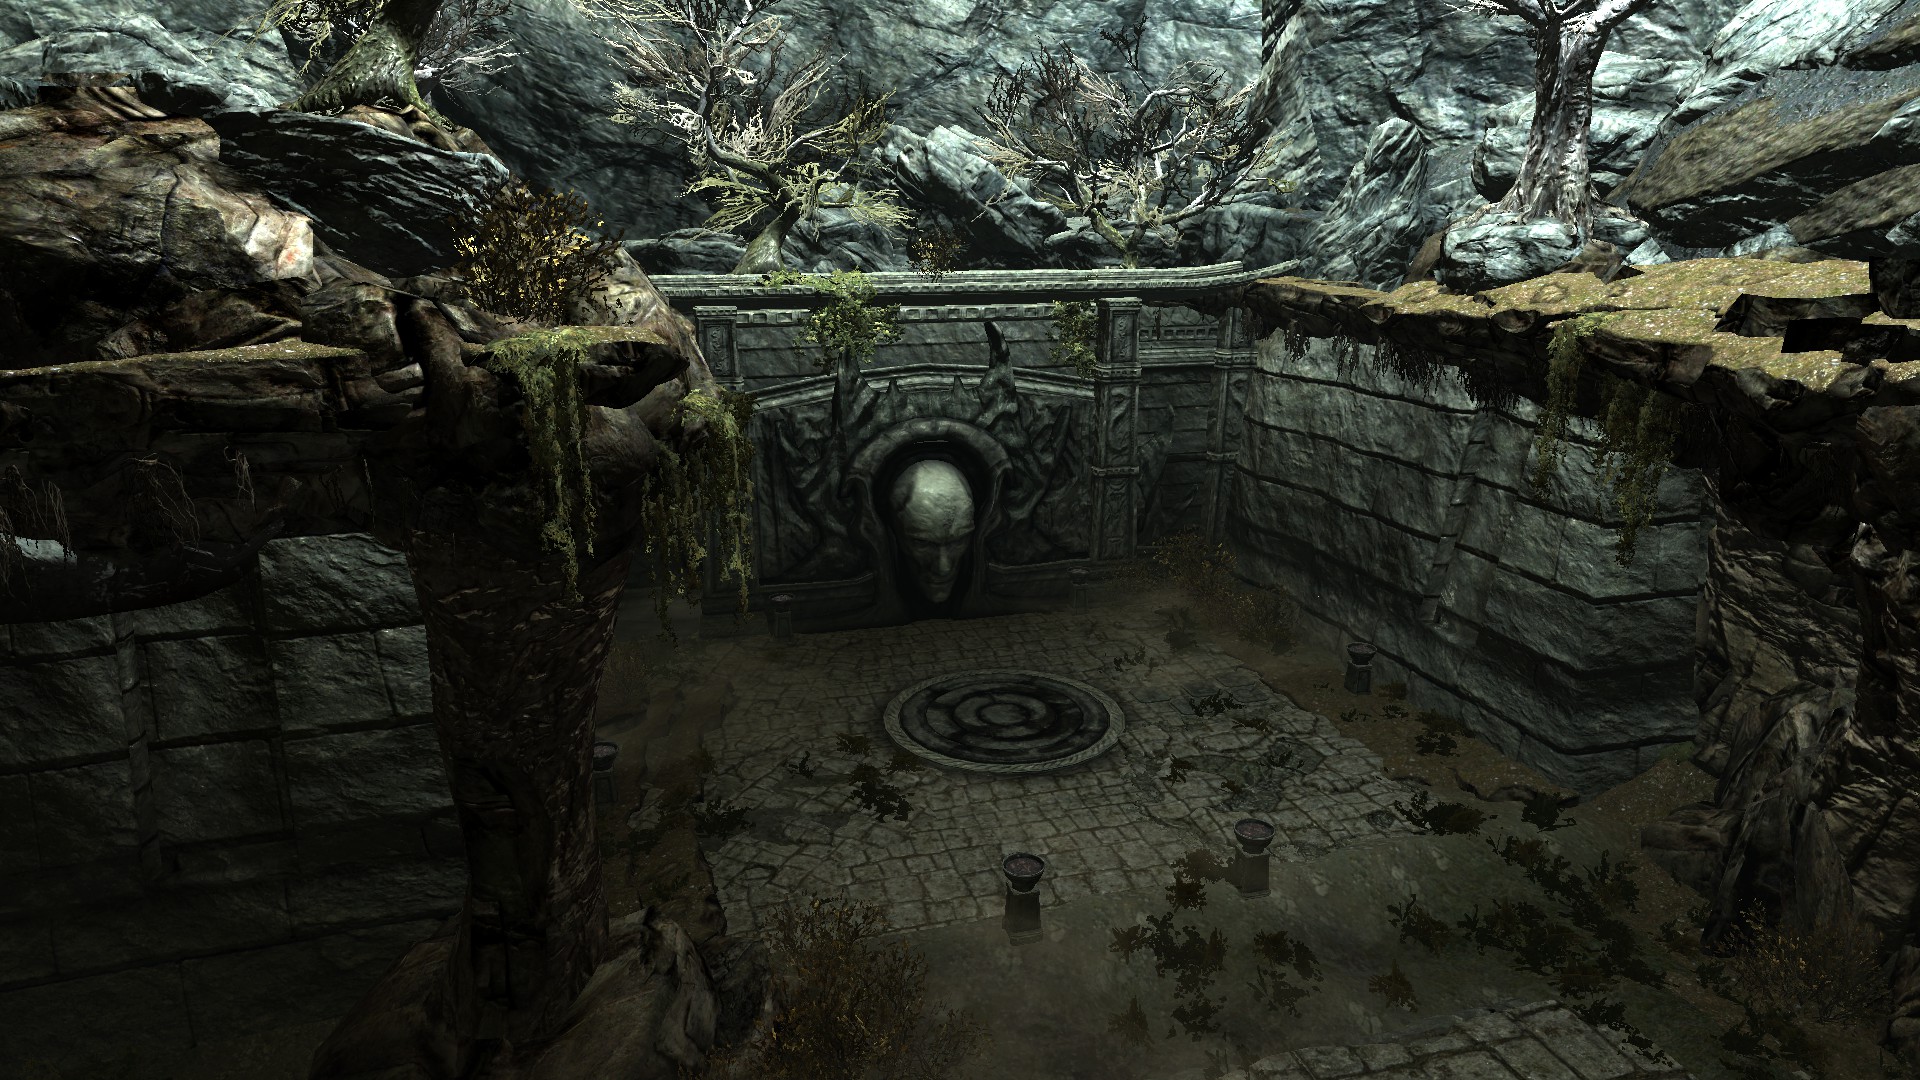
Alftand Cathedral
Now enter the Alftand Cathedral. Battle or avoid the two Falmer. Travel up the stairs and activate the switch. Then pass through the gate which was once shut. You will find a Dwarven Centurion that you must kill, as he has the key you need to proceed. (An easy way to defeat the Centurion would be to have your partner stand at the front of the gate, activate the Centurion, run up the stairs and close the gate. On the outside of the gate,you can easily defeat the Centurion with a bow and arrows.) Next, go to the gate on the southwest, you will hear an argument of two adventurers, Sulla and Umana. They will fight if you wait in concealment, but you will need to kill the survivor or both of them (or just sneak past them while they’re bickering). Go to the Dwarven Mechanism now, and insert the Attunement Sphere Septimus gave you. The floor parts, revealing stairs down to a hidden gold door and an entrance into the mysterious undercity of Blackreach.
- Note: At this point the elevator immediately behind the “Dwarven Mechanism” will take you back to Skyrim. This lift can then be taken back to this point if you are struggling for space with all the loot. Also a useful midway point for returning later to collect the various bits of Dwemer metal for converting to ingots.
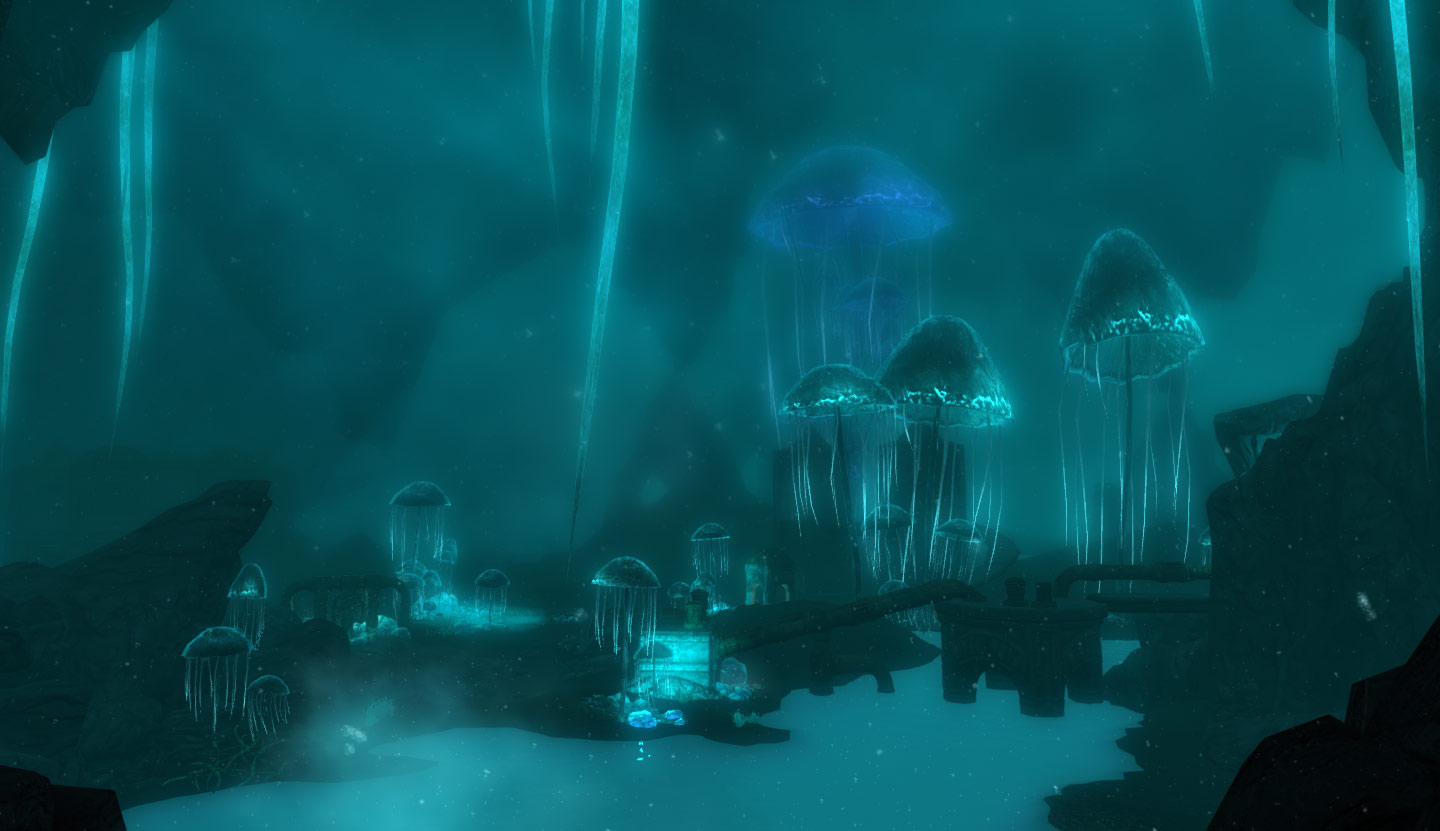
Blackreach
You can exit Blackreach using the appropriate Dwarven Elevator just left of your location. There are several Centurion along the road, but they can be avoided. Just take care of the Dwemer sphere and the Falmer (a very easy way to dispose of the sphere is to activate the nearby crossbow before the sphere activates, as this kills it instantly), and follow the cobblestone path southeast to a golden button encased on a Dwarven head pedestal. Press it, and the elevator behind lights up, allowing you to ascend and exit back outside. Open the gate, allowing you to enter from the Great Lift of Alftand.
This is a large city with many enemies and things to loot. Remember to bring a pickaxe as there are many ores to mine. To continue the mission, follow the quest marker to the far southwest corner of the map. This will lead you to the Tower of Mzark, the place where the Scroll resides.
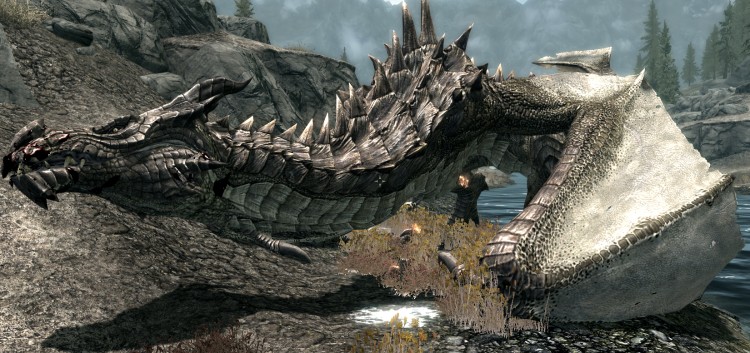
From the lift to the Tower of Mzark, you should see a giant orb of light overhanging a nearby castle. If you use your Unrelenting Force shout on the orb, a dragon named Vulthuryol will come to attack you. It is not necessary to kill or even call forth the dragon to finish the quest, but it’s a way to harvest another dragon soul if you want one. Be aware that the castle has many Falmer and their servitors, who will be alerted by your shout and will attack you. You may want to clear them out before shouting. Also, the dragon may fly away after a pass or two overhead. If so, climb down out of the castle and search the nearby area, as it will likely have landed nearby. (In one case, it was on the ground between the castle and the Tower of Mzark lift.)
Oculory Operation
Once inside the Tower of Mzark, you will come to a room with a number of alchemical ingredients and other items. The Oculory is through the gold door on the other side of the room. Go up the spiral stair case. Near the top is a level area with desks, ruined books, and a door to an elevator to the surface. Near the door is a dead body, that of Drokt. Journal of Drokt is next to his skeletal remains.
Go up the ramp above the elevator door to the controls. The controls consists of a Lexicon Receptacle and four positioning buttons embedded in pedestals.

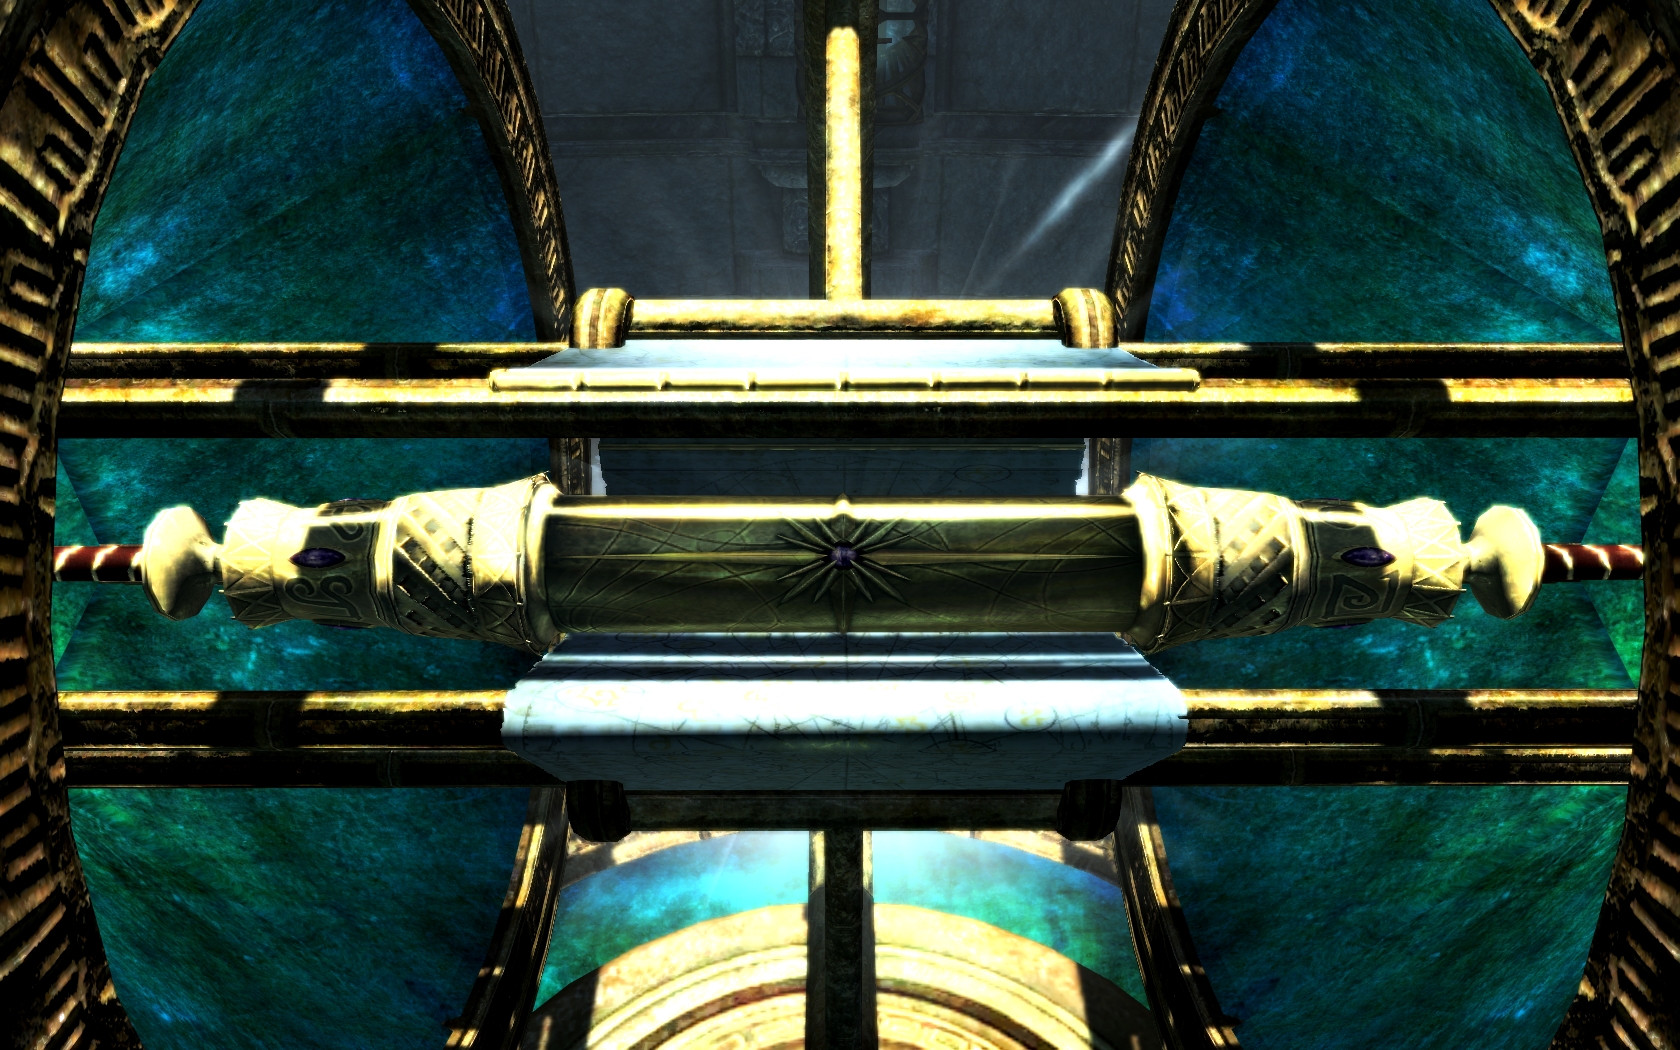
Activate the Lexicon Receptacle, so the Blank Lexicon rests on top of it. The two pedestals to the Receptacle’s right, the only ones currently active, open and close the Oculory lenses. Press the taller of the two pedestals (right of the pedestal with the lens chart on it in the middle of the buttons) three or four times, until the pedestal with the blue button to the left of the middle one starts to glow. Move to this new pedestal (at this point, the Blank Lexicon may be glowing blue). The two pedestals to the left of the lens chart, the taller of which is now active, control the ceiling lens array. Press the button of the taller, left pedestal twice, until the button on the left of that (the smaller pedestal) begins to glow. Note, if you press the left button too many times, you may have to start over with the farthest right button pedestal (as a reset). Now press that button, and a large set of lens crystals descends from the ceiling and stops. The main crystal rotates and splits apart to reveal a tube-like carrying device, which contains what you’ve come all this way for – the Elder Scroll.
Once you get the scroll, you have completed the quest. Pick up the Lexicon in order to continue the Discerning the Transmundane quest.
Bugs
- If you complete all the quests for The College of Winterhold before having talked with Urag gro-Shub about the Elder Scrolls, you will not get a text option to ask for the books about the location of an Elder Scroll. The proper text option has a slim possibility to appear after all available chat options have been selected. This bug appears if the player has already spoken to Septimus Signus before talking to Urag. If you have already talked to Septimus Signus, you can skip talking to Urag and continue on to the Tower of Mzark
- 360 PS3 Esbern may not talk to the player if you go to Sky Haven Temple. He just stands there and gives generic dialogue, forcing the player to go to Arngeir.
- If you have already completed Septimus Signus’s quest go to Blackreach to the Tower of Mzark and the scroll will be there, inside the center of the large dwarven sphere artifact.
- There is an error showing on the map, on the path finding the Elder Scroll as well.
- If you are in the middle of the Staff of Magnus quest, there will be no text options for Urag, only the generic guard-like talk about the Eye.
- When walking up towards the Tower of Mzark, a door inside will be missing. If you choose to open it, you will not get past the invisible-barrier.
- Sometimes when the quest is finished and the marker appears on the Scroll, it still does not allow you to pick it up. If this occurs, you must go back down the elevator to Blackreach, and then return back to the Scroll chamber.
- While in Blackreach, if you wait your follower may be in a position as if he/she was downed. To fix this, all you have to do is leave the area.
- PC 360 There is a glitch in Blackreach where, after taking an elevator to the surface, the screen fades to black repeatedly and may erase autosave files, recommended to manually save before activating elevators to the surface.
- PS3 Even though you can continue the quest as normal, the current objective might not be in your quest log, but will be on the map.
- PC If you have completed both the College’s quests and those by Septimus, don’t have the Elder Scroll and Urag doesn’t give you any quest dialog towards the Elder Scroll, you can jump start this quest line by using the console to create the scroll in your inventory. The cube at the Septimus Signus’s Outpost was closed, and the device in the Tower of Mzark can’t be used a second time… leaving the console creation the only option.
player.additem 0002D513 1will place it in your inventory. - PC 360 PS3 After obtaining the Elder Scroll and taking the elevator lift to “Open Skyrim”, the gate and enclosure you find yourself in after the loading screen will not allow you to exit and leave the Alftand Ruins. There is no floating marker or any text signifying you can unlock the door/gate. You can fast-travel from this location to escape from the lift cage. This is probably due to the player not picking up the lexicon for Septimus Signus where they had originally placed it. Go back into the ruins, pick up the lexicon and take the lift back up. Your map should now update and a lever should be to your right to open the gate.
- PS3 Rarely, Umana will attempt to talk to you, and dialogue box will open. As she has nothing to say and no options to give, the game will freeze.
- PS3 If you use Clairvoyance in the dungeon, it will misguide you back to the entrance of the Dungeon.
- 360 PS3 There is a bug in which the Tower of Mzark or the elevator to the Tower of Mzark does not render. To fix this, simply save your game (make sure it’s a unique save, and not an overwrite) and restart the game. Enter/leaving other areas of the map does not fix this.
- Sometimes, you will not be able to pick up the Elder Scroll after completing the puzzle. Reloading the last save fixes this.
- PC Sometimes, Skyrim will close after you speak with Arngeir and finish his dialogue.
- 360 When entering Blackreach, after you have passed the bloodied campsite and start to go on, there will be an invisible barrier, preventing you to continue.
- If you have already talked to Septimus and gotten the Daedric Quest “Discerning the Transmundane”, the marker to talk to Arngeir may not dissappear after learning the location of the Elder Scroll, and the marker will not appear on the Elder Scroll.
Notes
- Faralda will teach you the spell that she asks you to cast if you do not have it.
- The best choice may be to take Faralda’s test, since if you do not know the spell she asks you to use, it can be bought from her for 30 gold, an immense discount that should be taken advantage of.
- You can go to Septimus Signus directly, skipping a portion of the quest.
- If you are in the middle of The Staff Of Magnus quest, it is impossible to talk to Urag gro-Shub. You must complete The Staff of Magnus first.
- If you have already completed Discerning the Transmundane and thus killed Septimus Signus, then to do this quest, simply travel to Blackreach and head back to where you did the puzzle at the end of it- the Scroll should still be there, waiting for you.
- If you read the Scroll anywhere other than the Throat of the World, you will be blinded for several seconds.
- If you have cleared out other Dwemer Ruins such as Mzinchaleft or Raldbthar, they can act as a shortcut to Blackreach. They are all connected as long as you have the Attunement Sphere. This can lead to a faster way to get through for completion of the quest.
- You can skip the entire dungeon and head straight to the observatorium by finding the Tower of Mzark on the map, getting a plate, going to the tower, pressing the plate up against the locked door and sprinting towards the plate. This will cause you to glitch through the locked door. From here you can take the lift down.
Trivia
- When Urag gro-Shub tells you about the Elder Scrolls, he mentions that “All of it is true. Even the falsehoods. Especially the falsehoods. This is very likely a reference to the Star Trek: Deep Space Nine episode “The Wire” in which the character Garak says “All of it is true. Even the lies. Especially the lies.” When asked if the answers he gave during questioning were true.
AchievementsEdit
 |
Elder Knowledge Complete “Elder Knowledge” |
|---|---|
| Points | 20 |
| Trophy |
|


")
")
")

")
")